Essential Aspects of Replacing a Moen Bathtub Faucet
Replacing a Moen bathtub faucet is a relatively straightforward task that can be completed in a few hours with the right tools and materials. By following these essential steps, you can ensure a successful and hassle-free installation.
Tools and Materials
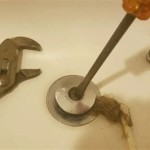
Before you begin, gather the necessary tools and materials, including:
- Adjustable wrench
- Phillips head screwdriver
- Flat head screwdriver
- New Moen bathtub faucet
- Plumber's putty or silicone sealant
- Teflon tape
Step-by-Step Instructions
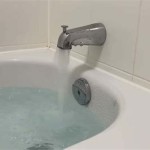
- Turn off the water supply: Begin by turning off the water supply to the bathtub using the shut-off valves located under the sink or behind the tub.
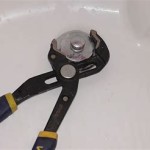
- Remove the old faucet: Using the adjustable wrench, loosen the nuts that secure the faucet to the bathtub. Carefully remove the old faucet and any remaining hardware.
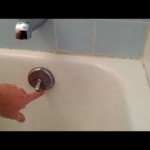
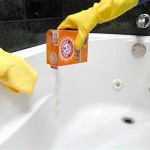
- Clean the surface: Clean the surface of the bathtub where the new faucet will be installed using a damp cloth and mild detergent.
- Apply plumber's putty or silicone sealant: Apply a bead of plumber's putty or silicone sealant around the base of the new faucet.
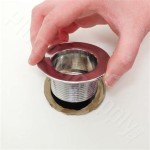
- Install the new faucet: Carefully place the new faucet onto the bathtub and hand-tighten the nuts. Use the adjustable wrench to fully tighten the nuts, but do not overtighten.
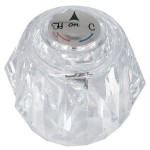
- Attach the handles: Insert the handles into the faucet and secure them with the screws provided.
- Connect the water supply: Wrap the threaded ends of the water supply hoses with Teflon tape and hand-tighten them onto the faucet inlet valves. Use the adjustable wrench to fully tighten the connections.
- Turn on the water supply: Slowly turn on the water supply and check for any leaks. If you notice any leaks, tighten the connections further or apply more plumber's putty or silicone sealant.
Tips for a Successful Installation
- Make sure to use the correct tools and materials for the job.
- Do not overtighten the nuts or connections, as this can damage the faucet or the bathtub.
- If you are not comfortable performing this task yourself, it is recommended to hire a professional plumber.
- Test the faucet thoroughly after installation to ensure it is functioning properly.
- Regularly inspect and clean the faucet to prevent any issues in the future.

How To Repair Remove Replace A Leaking Moen Shower Faucet Cartridge Valve With Single Knob 1225

Moen Slip Fit Tub Spout Install Review Diy

How To Replace A Moen Cartridge And Fix Leaky Bathtub Faucet It Tutorials

How To Repair A Leaky Single Lever Moen Bath Or Shower Faucet Older Style

Moen Bathtub Faucet Handle Repair

Repair Shower Faucet Moen Posi Temp 1222 B

Installation S By Moen

How To Remove A Moen Tub Spout Mr Kitchen Faucets

Moen Roman Tub Faucet Dripping Repair

Learn How To Remove And Install Various Tub Spouts