Essential Aspects to Consider When Replacing a Bathtub Drain
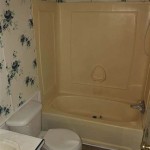
A faulty bathtub drain can lead to a cascade of issues, from water leakage to potential damage. Replacing a bathtub drain may seem like a daunting task, but with the right tools and a step-by-step guide, it can be a straightforward process. Here are some crucial aspects to consider:
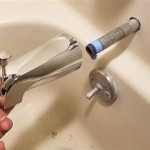
Identifying the Drain Type: There are various types of bathtub drains, including pop-up drains, trip lever drains, and toe touch drains. Each type has its specific mechanism, so identifying the one you have is essential for choosing the correct replacement part.
Tools and Materials: Before starting the replacement, gather the necessary tools, such as a wrench, pliers, screwdriver, and plumber's putty. You will also need the new drain assembly and Teflon tape.
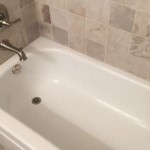
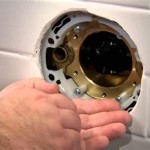
Removing the Old Drain: Remove the drain cover using pliers or a screwdriver. Then, use a wrench to loosen the slip nut that holds the drain assembly in place. Gently unscrew the drain and pull it out.
Installing the New Drain: Apply plumber's putty to the base of the new drain and screw it into the drain hole. Use Teflon tape on the threads of the slip nut before tightening it securely.
Reattaching the Drain Cover: Place the drain cover over the drain assembly and press down firmly to engage the mechanism. Ensure that the cover is securely fastened.
Testing the Drain: Fill the bathtub with water and check for leaks. If there are any leaks, adjust the slip nut as needed.
Maintenance and Cleaning: To maintain the drain in optimal condition, clean it regularly by removing hair and debris. Avoid using harsh chemicals that can damage the finish.
Replacing a bathtub drain requires careful attention to detail and the use of appropriate tools. By following these steps and selecting the right materials, you can successfully tackle this project and ensure a leak-free and functional bathtub drain.

How To Replace A Bathtub Drain

How To Replace Bathtub Drain Stopper With A Lift And Turn Diy

How To Remove A Bathtub Drain Forbes Home

How To Remove A Bathtub Drain The Home Depot

How To Replace A Bathtub Drain

How To Replace A Tub Drain Ask This Old House

Diy How To Replace Bathtub Drain Stopper Tutorial Clogged

How To Remove Bathtub Drain Of Any Type

Replace Your Bathtub Drain Like A Pro Using The Right Tools

Danco Lift And Turn Tub Drain Stopper In Chrome 88599 The Home Depot