Essential Aspects of Moen Bathtub Faucet Replacement
Replacing a Moen bathtub faucet can be a straightforward task for those with some DIY skills. Here are the essential aspects to consider for a successful replacement:
Preparation
Before starting, gather the necessary tools: adjustable wrench, pliers, screwdriver, and a new Moen bathtub faucet. Shut off the water supply to the bathtub to prevent leaks during the replacement process.
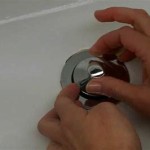
Removal of Old Faucet
Using a wrench, loosen the nuts that secure the old faucet to the bathtub. Disconnect the water lines by turning the nuts counterclockwise with pliers. Carefully remove the old faucet.
Installing the New Faucet
Apply plumbers putty to the base of the new faucet to create a watertight seal. Place the faucet onto the bathtub and tighten the nuts securely.
Water Line Connections
Connect the water lines to the new faucet. Hand-tighten the nuts and then use pliers to further tighten them by about a quarter to half a turn.
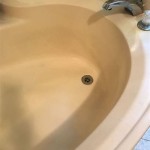
Testing and Finishing
Turn on the water supply and check for leaks. If no leaks are detected, tighten the handle screws to secure the handles.
Tips
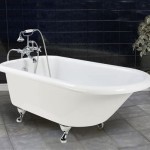
Choose a Moen bathtub faucet that complements the style and finish of your bathroom. Consult the manufacturer's instructions for specific installation details.
If you encounter any difficulties during the replacement process, do not hesitate to contact a qualified plumber for assistance.
With proper preparation and attention to detail, replacing a Moen bathtub faucet can be an achievable DIY project.

How To Repair Remove Replace A Leaking Moen Shower Faucet Cartridge Valve With Single Knob 1225

Moen Bathtub Drippingfaucet Repair

Moen Roman Tub Faucet Dripping Repair

Moen Slip Fit Tub Spout Install Review Diy

Repair Shower Faucet Moen Posi Temp 1222 B

Moen 2 Handle Replacement Cartridge For Roman Tub Faucets 1248 The Home Depot

Replacing Trim Kit For Roman Tub

Moen Engage Single Handle 6 Spray Tub And Shower Faucet With Magnetix Rain 1 75 Gpm In Matte Black Valve Included 82304bl The Home Depot

Essential Values Moen 1222 One Handle Replacement Faucets For Shower Cartridge Com

Moen Bathtub Faucet Stuck Open Diy Home Improvement Forum