How to Replace a Bathtub Faucet Handle
Replacing a bathtub faucet handle is a relatively simple DIY project that can be completed in about an hour. This guide will walk you through the steps involved in replacing the handle on a single-handle faucet. If you have a different type of faucet, the steps may vary slightly. ### Tools and Materials You Will Need * Replacement faucet handle * Adjustable wrench * Phillips head screwdriver * Allen wrench (if necessary) * Pliers * Rag or towel * Bucket ### Instructions 1.Turn off the water supply to the faucet.
There should be a shut-off valve under the sink. Turn the valve clockwise until the water is completely turned off. If there is no shut-off valve, you will need to turn off the main water supply to your home. 2.Open the faucet to release any remaining water.
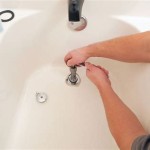
This will help prevent water from leaking out when you remove the handle. 3.Remove the old faucet handle.
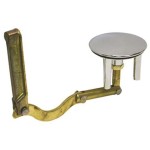
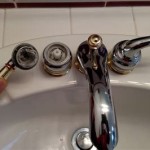
The handle is usually held in place by a screw or an Allen screw. Use the appropriate tool to remove the screw and then pull the handle straight off. If the handle is stuck, you can try using a penetrating oil to loosen it up. 4.Clean the faucet stem.
The faucet stem is the part of the faucet that the handle controls. Use a rag or towel to clean off any dirt or debris from the stem. 5.Apply a small amount of grease to the faucet stem.
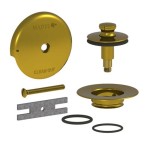
This will help to keep the stem lubricated and prevent it from sticking. 6.Install the new faucet handle.
Slide the new handle onto the faucet stem and then tighten the screw or Allen screw. Make sure that the handle is tight enough so that it doesn't move around, but not so tight that it's difficult to turn. 7.Turn on the water supply and check for leaks.
Open the faucet and check for any leaks. If there are any leaks, tighten the screws or Allen screws that hold the handle in place. 8.Adjust the handle as needed.
The handle should be able to move smoothly through its full range of motion. If the handle is too loose or too tight, adjust the screws or Allen screws until it feels right. ### Troubleshooting If you are having trouble replacing the faucet handle, here are a few things to check: * Make sure that you have the right replacement handle for your faucet. * Make sure that the screws or Allen screws that hold the handle in place are tight enough. * Make sure that the faucet stem is clean and lubricated. * If you are still having trouble, you may need to call a plumber. ### Conclusion Replacing a bathtub faucet handle is a relatively easy DIY project that can be completed in about an hour. By following the steps in this guide, you can save yourself the cost of hiring a plumber.
How To Fix A Leaking Bathtub Faucet Diy Family Handyman

How To Fix A Leaking Bathtub Faucet Diy Family Handyman

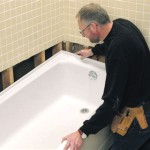
Fixing Faucets How To Replace A Difficult Tub Faucet Cartridge

How To Fix A Leaky Bathtub Faucet 6 Ways Stop Drips

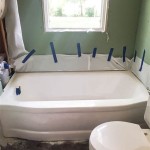
How To Replace A Bathtub Faucet In 4 Easy Steps

How To Fix A Leaking Single Handle Bathtub Faucet Quick And Easy

How To Replace A Mobile Home Bathtub Faucet Parts Latest News

How To Remove Moen Bathroom Faucet Handle In 2 Steps

Bathroom Ideas Replace Tub And Shower Faucet Trim Repair Faucets Handles

How To Fix A Leaky Bathtub Faucet 6 Ways Stop Drips